
In this post, we look at generating AI Navigation data at runtime for maximal flexibility, without sacrificing too much performance.
In the previous devlog post we loaded a sublevel at the location/orientation of a real-world wall in the players room. When we want to add AI Navigation to this sublevel, we are presented with the challenge that typically the NavMesh (the data to enable AI Navigation) is generated at build time, given that runtime generation is very costly, especially on VR headsets which have very limited performance. The problem with this build-time NavMesh is that it has a static location/orientation, which is a problem if we want to load the sublevel at a different location/orientation - because then the NavMesh does no longer correspond with the sublevel geometry.
Tech Stack
For this exploration, we're using the following tech stack:
We continue from the setup we've discussed in the previous blog post A Real Window Into a Virtual World for Unreal Engine.
Final Result
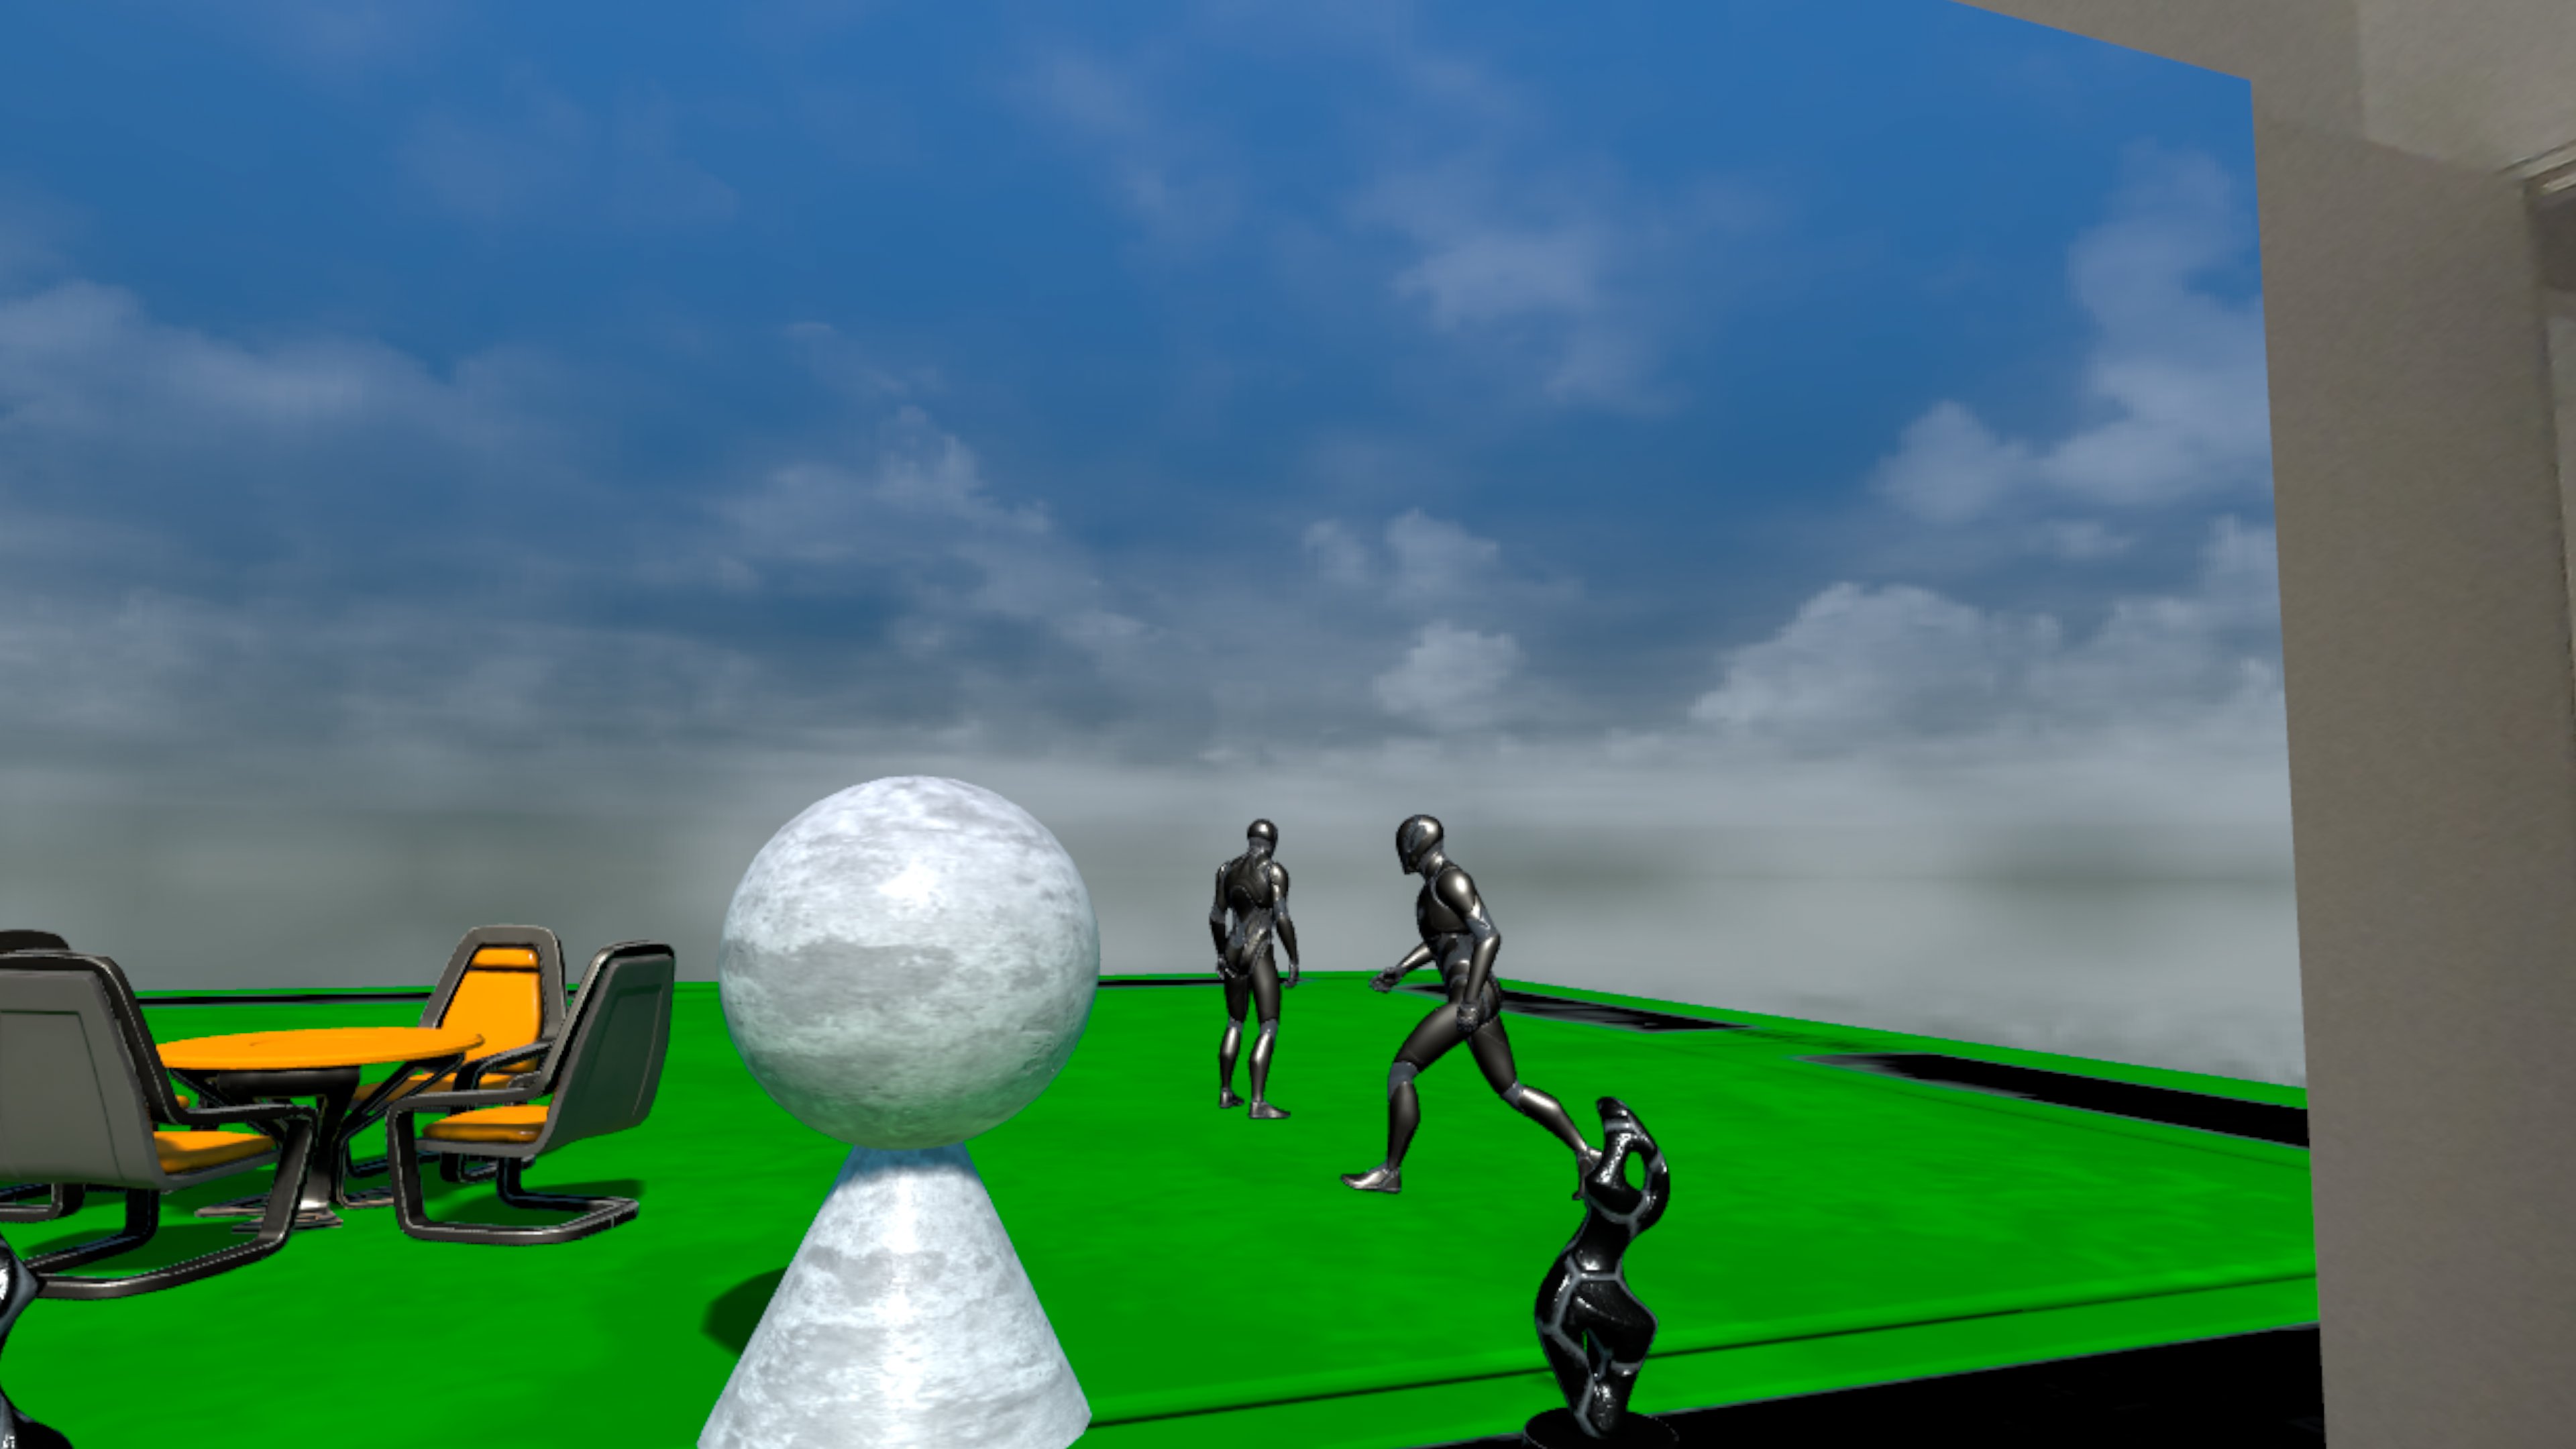
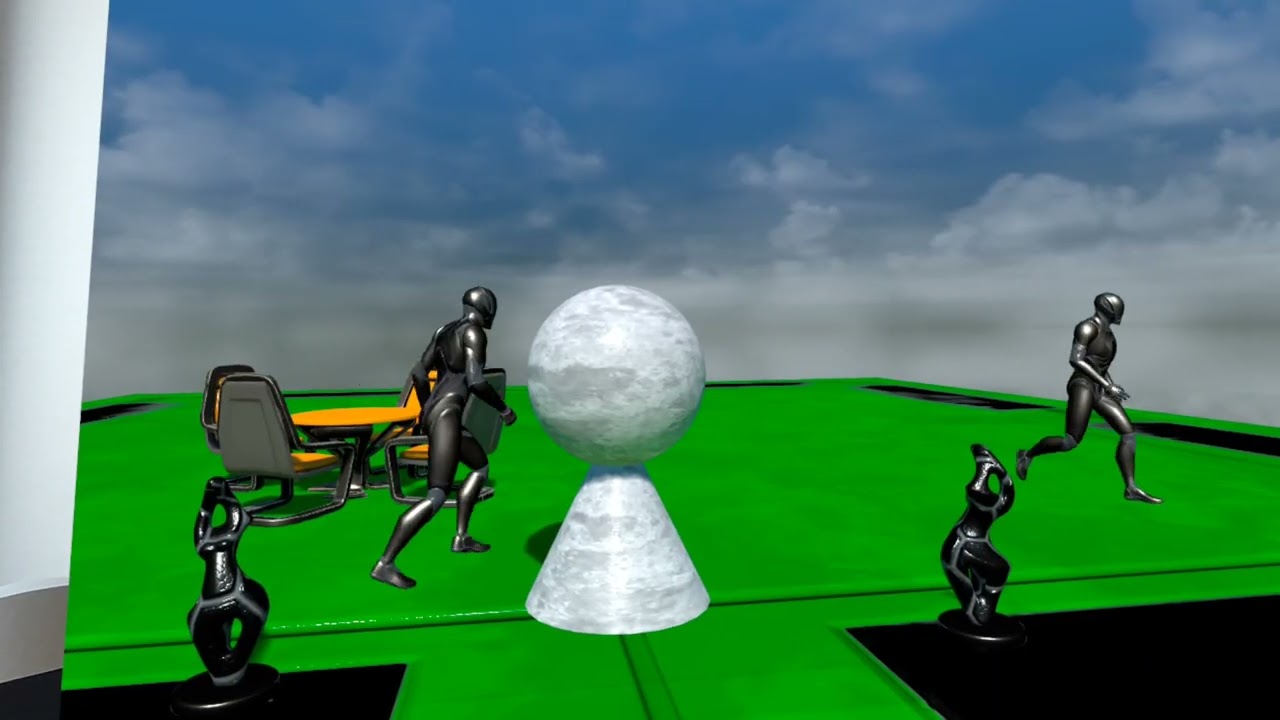
The video below shows the final result of what we're describing in this blog post, showing that 2 NPC characters can successfully walk around in the sublevel, which was loaded at the location / orientation of a wall in the player's room. If the NavMesh was not properly generated, the NPCs would remain idle at the initial location.
Clicking play will embed the YouTube player and may set third-party cookies and collect data from YouTube.
NavMesh Generation Options
Unreal Engine offers 3 types NavMesh generation modes (see here for details):
Static- generated at build time, cannot change at runtimeDynamic Modifiers Only- generated at build time, can be changed at runtime using modifiers; however, navigable areas can only be removed, so no additions are possibleDynamic- generated at runtime, any change is supported
When loading a sublevel at a flexible location/orientation, ideally we want Dynamic NavMesh generation. However, this is very costly, especially on VR headsets with limited performance. On Meta Quest 3 we observed a constant ~5ms NavMesh generation load on the CPU for a relatively simple sublevel, which resulted in an constant FPS drop of ~10 FPS, which is unacceptable.
Dynamic Modifiers Only
For simple NavMesh layouts, we could use the following approach using Dynamic Modifiers Only:
- Have a big floor and NavMeshBoundsVolume in the main level, e.g. 100x100m, with the sole purpose of generating a big navigable area
- In each sublevel, add NavModifierVolumes to exclude anything that's not intended to be navigable
- After loading the main level, remove the big floor, as typically only the sublevel will contain the geometry we want the player to see
This approach works fine for relatively simple navigation areas, but falls short for more complex setups, e.g. when multiple floors / stairs / ramps are used.
Semi-Dynamic NavMesh Generation
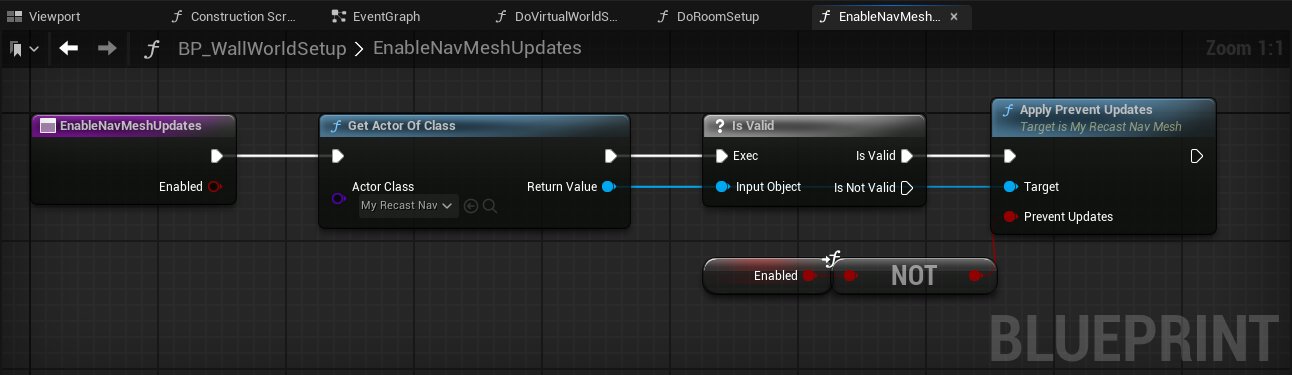
It would be nice if we could use Dynamic NavMesh generation when the sublevel is loaded (and accept the ~10 FPS drop), and once the NavMesh has been generated disable the Dynamic NavMesh generation to regain the lost performance. By default Unreal Engine does not support this scenario, but we can extend the functionality by writing some C++ code.
What we want to achieve is the following:
- Allow Dynamic NavMesh generation around the time when a Sublevel is loaded (in our
BP_WallWorldSetupblueprint) - When the NavMesh has been generated, disable the Dynamic NavMesh generation
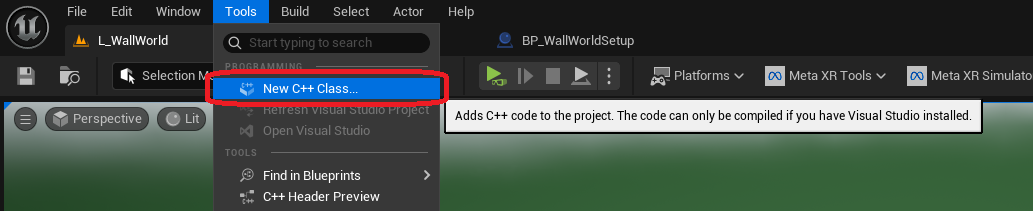
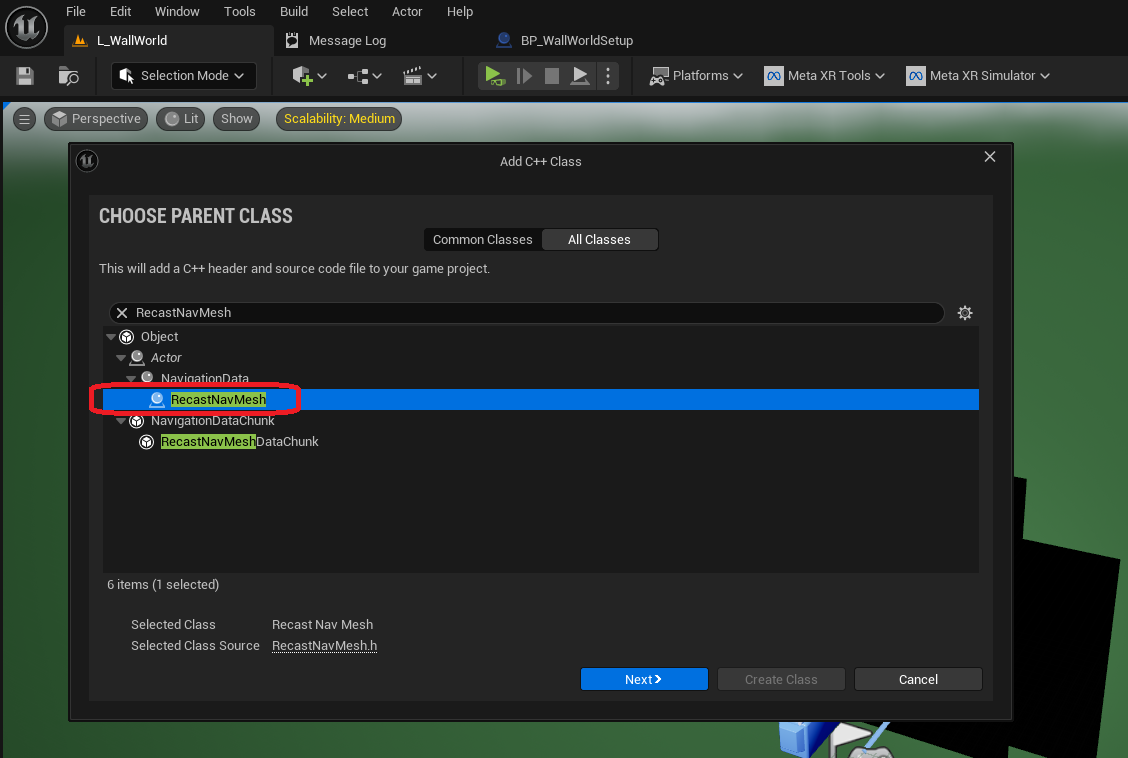
Extending RecastNavMesh class
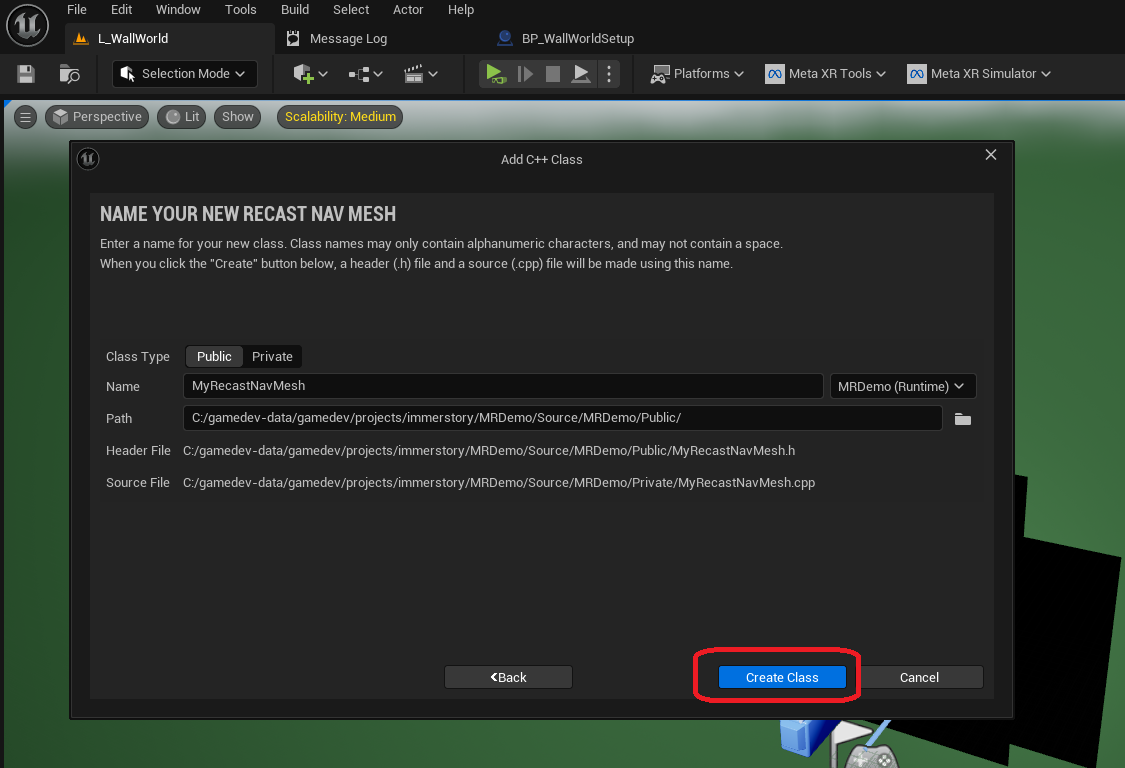
The C++ class RecastNavMesh controls the NavMesh generation, and is added automatically to a level when a NavMeshVolume is present.
Thus, we create a subclass MyRecastNavMesh as follows:
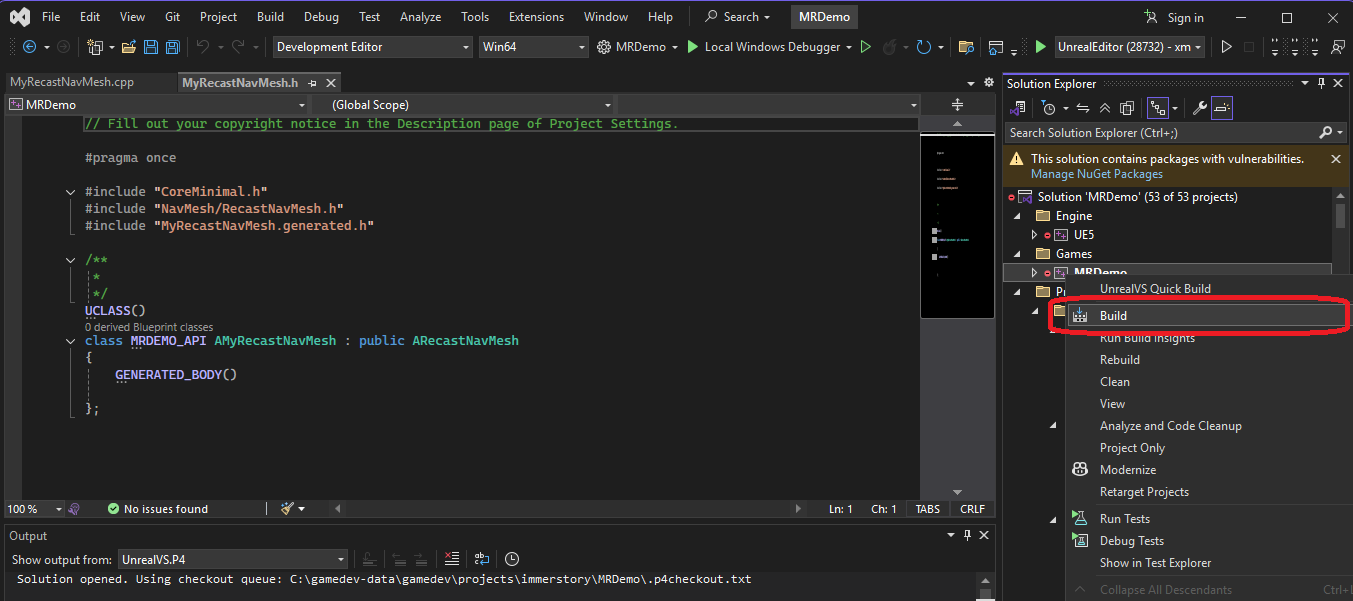
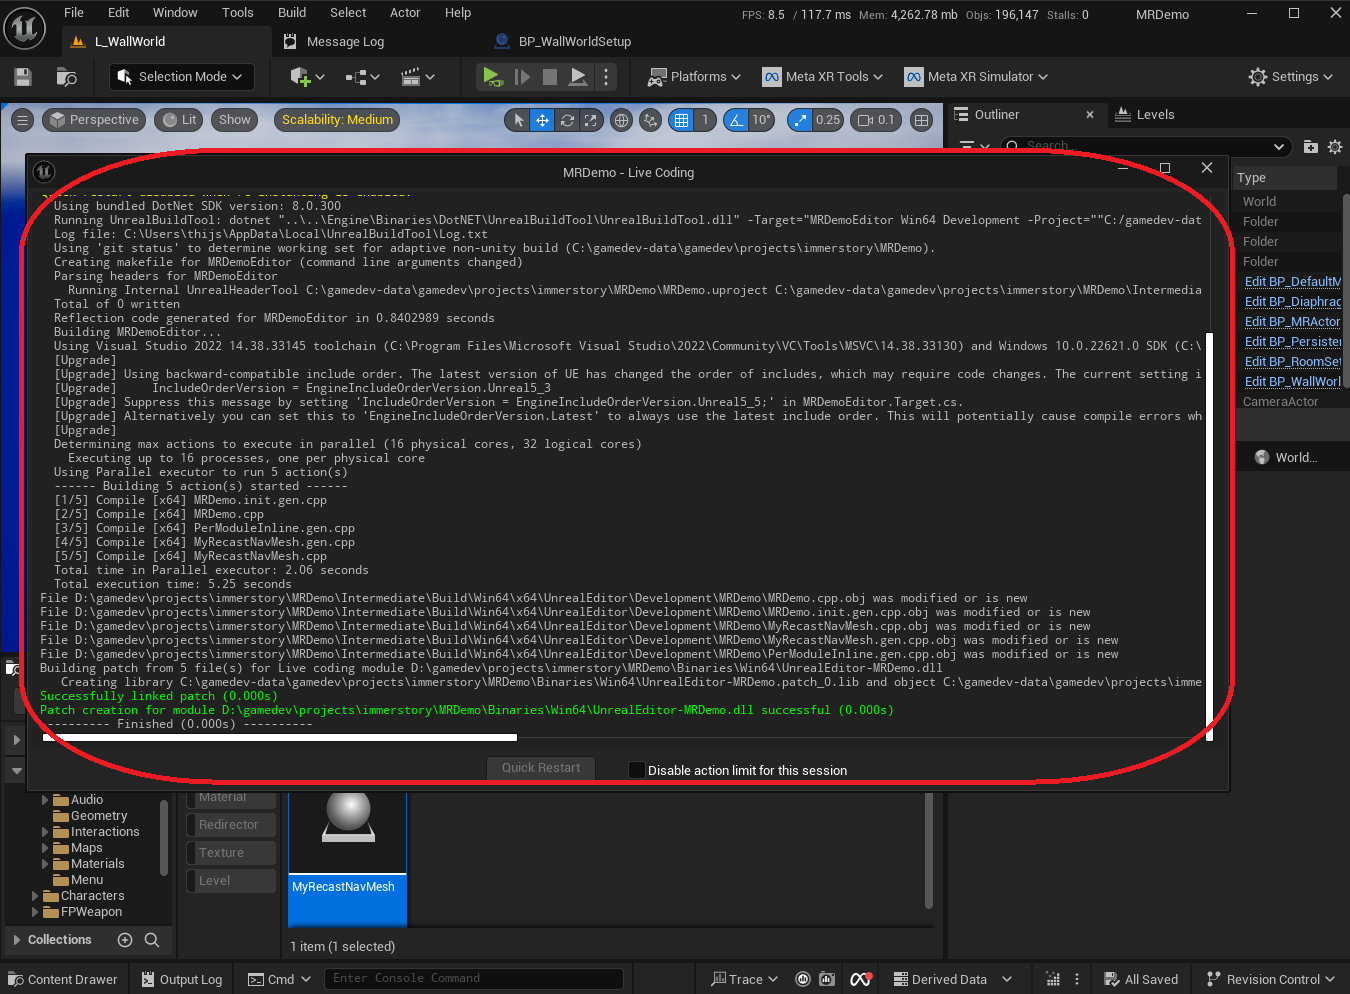
Now our project contains C++ code, so we must build it in VisualStudio to make sure our code can be used by the editor.
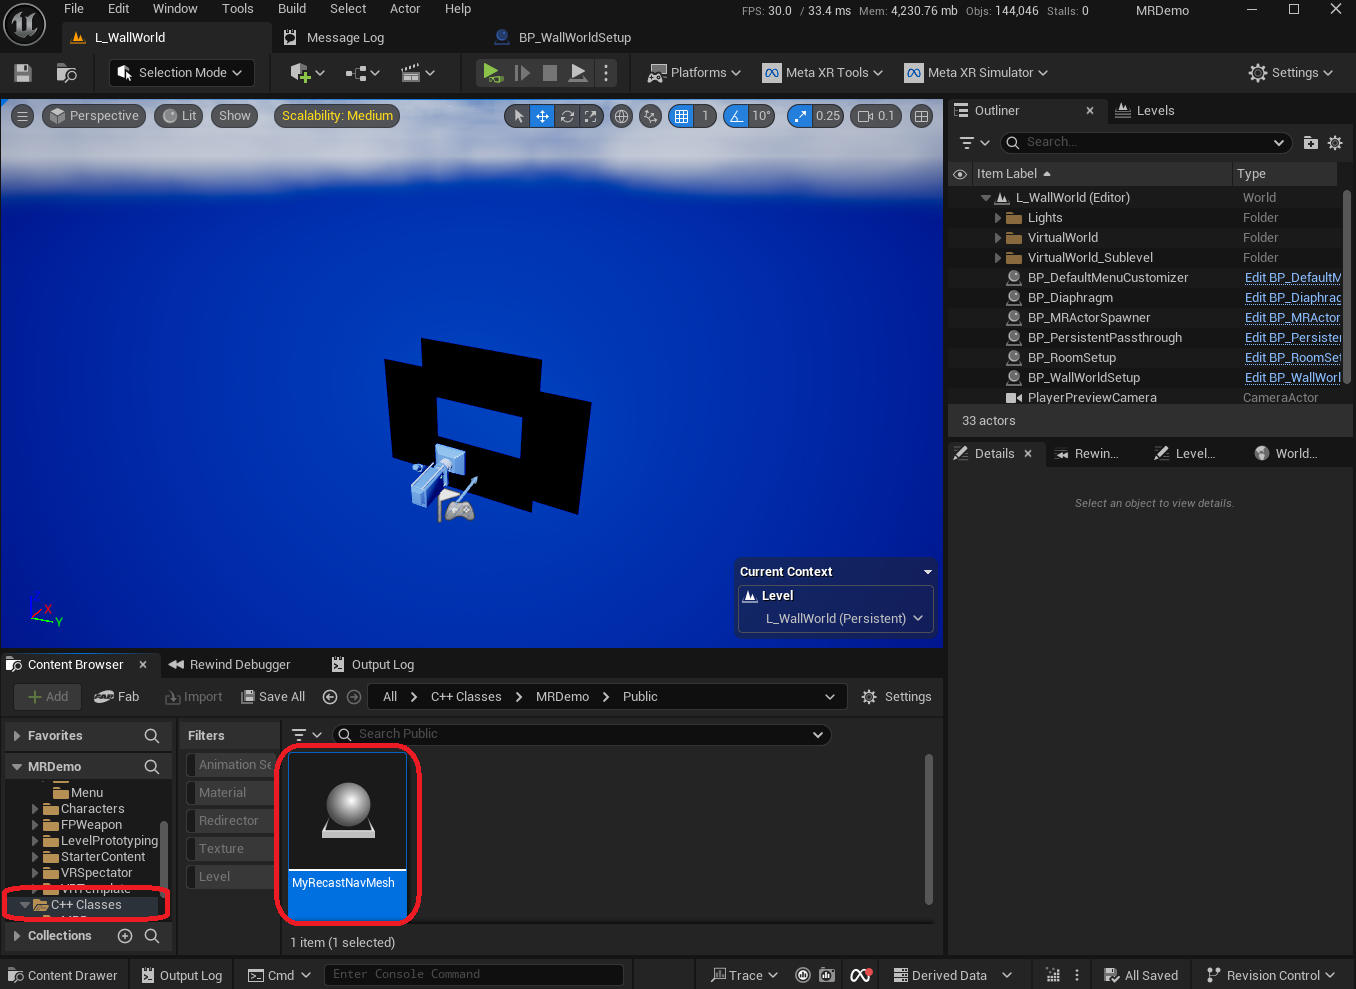
After building and starting the editor, we can see that our C++ class is visible in the content browser.
We use the following implementation:
- We add a flag
bPreventUpdatesand Blueprint-callable methods to read and write the flag - We override the method
NeedsRebuild()to returnfalsewhen we want to prevent updates to the NavMesh - We override the method
CreateGeneratorInstance()to return our subclass ofFRecastNavMeshGeneratorwhich also has thebPreventUpdatesflag - In the
FMyRecastNavMeshGeneratorclass, we override the methodsShouldDirtyTilesRequestedByElement()andMarkDirtyTiles(), for which we only delegate to the original implementation when we want to allow updates on the NavMesh
The idea is, when no tiles in the NavMesh are marked as dirty, no tiles need to be rebuilt.
MyRecastNavMesh.h
// Fill out your copyright notice in the Description page of Project Settings.

#pragma once

#include "CoreMinimal.h"
#include "NavMesh/RecastNavMesh.h"
#include "NavMesh/RecastNavMeshGenerator.h"
#include "MyRecastNavMesh.generated.h"

/**
 *
 */
UCLASS()
class MRDEMO_API AMyRecastNavMesh : public ARecastNavMesh
{
	GENERATED_BODY()

protected:

	bool bPreventUpdates = false;

public:

	AMyRecastNavMesh() : ARecastNavMesh() {};

	UFUNCTION(BlueprintCallable, Category = "MRDemo")
	bool IsPreventUpdates() const;

	UFUNCTION(BlueprintCallable, Category = "MRDemo")
	void ApplyPreventUpdates(bool preventUpdates);

	virtual bool NeedsRebuild() const override;

	virtual FRecastNavMeshGenerator* CreateGeneratorInstance() override;

};

class FMyRecastNavMeshGenerator : public FRecastNavMeshGenerator
{
protected:
	bool bPreventUpdates = false;

public:
	void SetPreventUpdates(bool preventUpdates);

	MRDEMO_API FMyRecastNavMeshGenerator(ARecastNavMesh& InDestNavMesh, bool PreventUpdates) : FRecastNavMeshGenerator(InDestNavMesh), bPreventUpdates(PreventUpdates) {};

	virtual bool ShouldDirtyTilesRequestedByElement(
		const UNavigationSystemV1& NavSys,
		const FNavigationOctree& NavOctreeInstance,
		FNavigationElementHandle SourceElement,
		const FNavDataConfig& NavDataConfig) const override;

	virtual void MarkDirtyTiles(const TArray<FNavigationDirtyArea>& DirtyAreas) override;

};
MyRecastNavMesh.cpp
// Fill out your copyright notice in the Description page of Project Settings.


#include "MyRecastNavMesh.h"
#include "NavigationSystem.h"

bool AMyRecastNavMesh::NeedsRebuild() const
{
	return !bPreventUpdates && Super::NeedsRebuild();
}

bool AMyRecastNavMesh::IsPreventUpdates() const
{
	return bPreventUpdates;
}

void AMyRecastNavMesh::ApplyPreventUpdates(bool preventUpdates)
{
	bPreventUpdates = preventUpdates;
	if (NavDataGenerator.IsValid()) {
		((FMyRecastNavMeshGenerator*)NavDataGenerator.Get())->SetPreventUpdates(preventUpdates);
	}
}

FRecastNavMeshGenerator* AMyRecastNavMesh::CreateGeneratorInstance()
{
	return new FMyRecastNavMeshGenerator(*this, bPreventUpdates);
}

void FMyRecastNavMeshGenerator::SetPreventUpdates(bool preventUpdates)
{
	bPreventUpdates = preventUpdates;
}

bool FMyRecastNavMeshGenerator::ShouldDirtyTilesRequestedByElement(
	const UNavigationSystemV1& NavSys,
	const FNavigationOctree& NavOctreeInstance,
	FNavigationElementHandle SourceElement,
	const FNavDataConfig& NavDataConfig) const
{
	return !bPreventUpdates && FRecastNavMeshGenerator::ShouldDirtyTilesRequestedByElement(NavSys, NavOctreeInstance, SourceElement, NavDataConfig);
}

void FMyRecastNavMeshGenerator::MarkDirtyTiles(const TArray<FNavigationDirtyArea>& DirtyAreas)
{
	if (!bPreventUpdates) {
		FRecastNavMeshGenerator::MarkDirtyTiles(DirtyAreas);
	}
}
We also need to add the Navmesh module to the PublicDependencyModuleNames in Source\MRDemo\MRDemo.Build.cs:
// Fill out your copyright notice in the Description page of Project Settings.

using UnrealBuildTool;

public class MRDemo : ModuleRules
{
	public MRDemo(ReadOnlyTargetRules Target) : base(Target)
	{
		PCHUsage = PCHUsageMode.UseExplicitOrSharedPCHs;

		PublicDependencyModuleNames.AddRange(new string[] { "Core", "CoreUObject", "Engine", "InputCore", "Navmesh", "NavigationSystem" });

		PrivateDependencyModuleNames.AddRange(new string[] {  });

		// Uncomment if you are using Slate UI
		// PrivateDependencyModuleNames.AddRange(new string[] { "Slate", "SlateCore" });

		// Uncomment if you are using online features
		// PrivateDependencyModuleNames.Add("OnlineSubsystem");

		// To include OnlineSubsystemSteam, add it to the plugins section in your uproject file with the Enabled attribute set to true
	}
}
We can then use Live Coding in the editor to rebuild our code:
Project Configuration to Use Our Custom RecastNavMesh class
In order to use our custom RecastNavMesh implementation, we take the following steps:
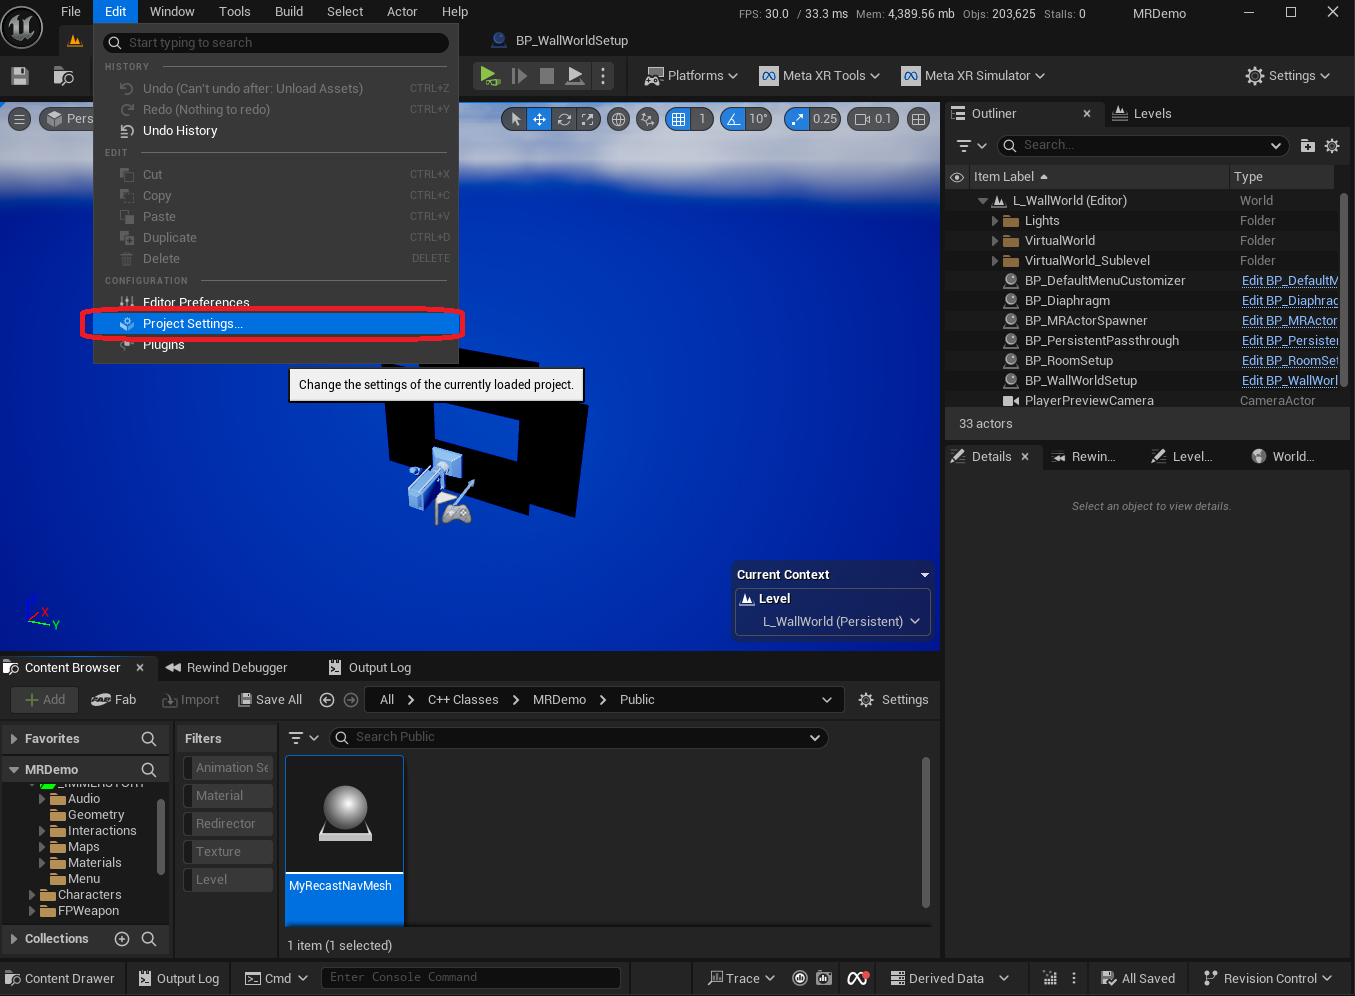


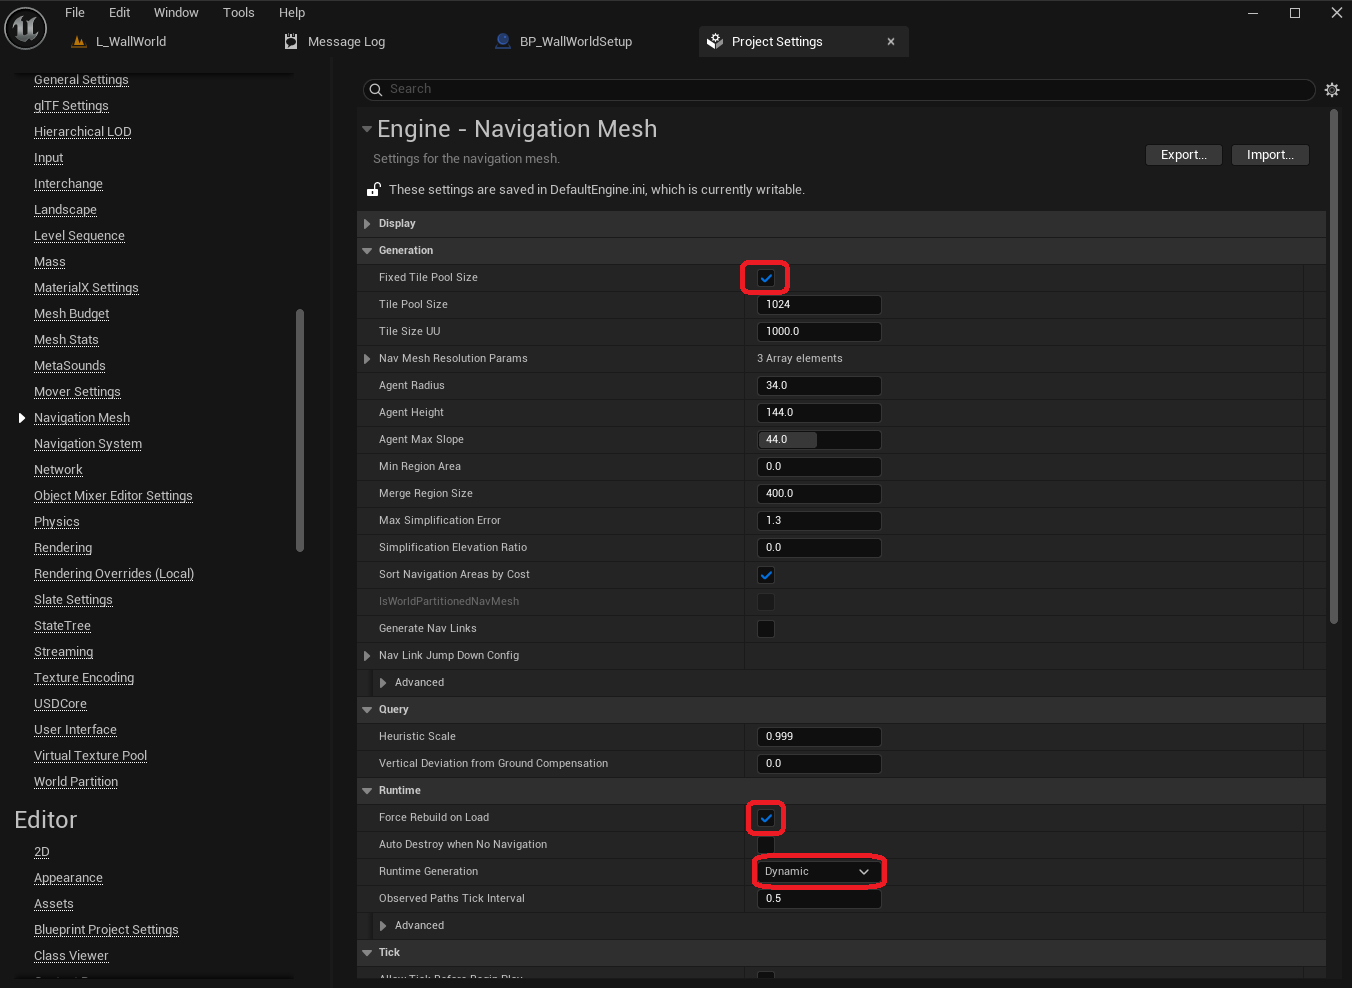
The following settings are changed in the Navigation Mesh section of the Project Settings:
Fixed Tile Pool Sizeis checkedForce Rebuild on Loadis checkedRuntime Generationis set toDynamic
Add Navigation to Levels
By default, even when using sublevels, the navigation data is managed in the main level.
Thus, we make the following changes in the main level:
- Add a
NavMeshBoundsVolumewith a default size
Add a NavMeshBoundsVolume - Note that automatically our
MyRecastNavMeshis also added to the level - Add a
NavModifierVolumewithArea Classset toNavArea_Nullat the world origin, which can be used to exclude the players room from the NavMesh
Main level navigation setup
In the sublevel, we make the following changes:
- Add a
NavMeshBoundsVolumewith the same location as the floor, and give it the same area by setting theBrushproperties accordingly - We press the key
Pin the viewport to show the Navigation debug info, and observe that the NavMesh is properly generated in the volume
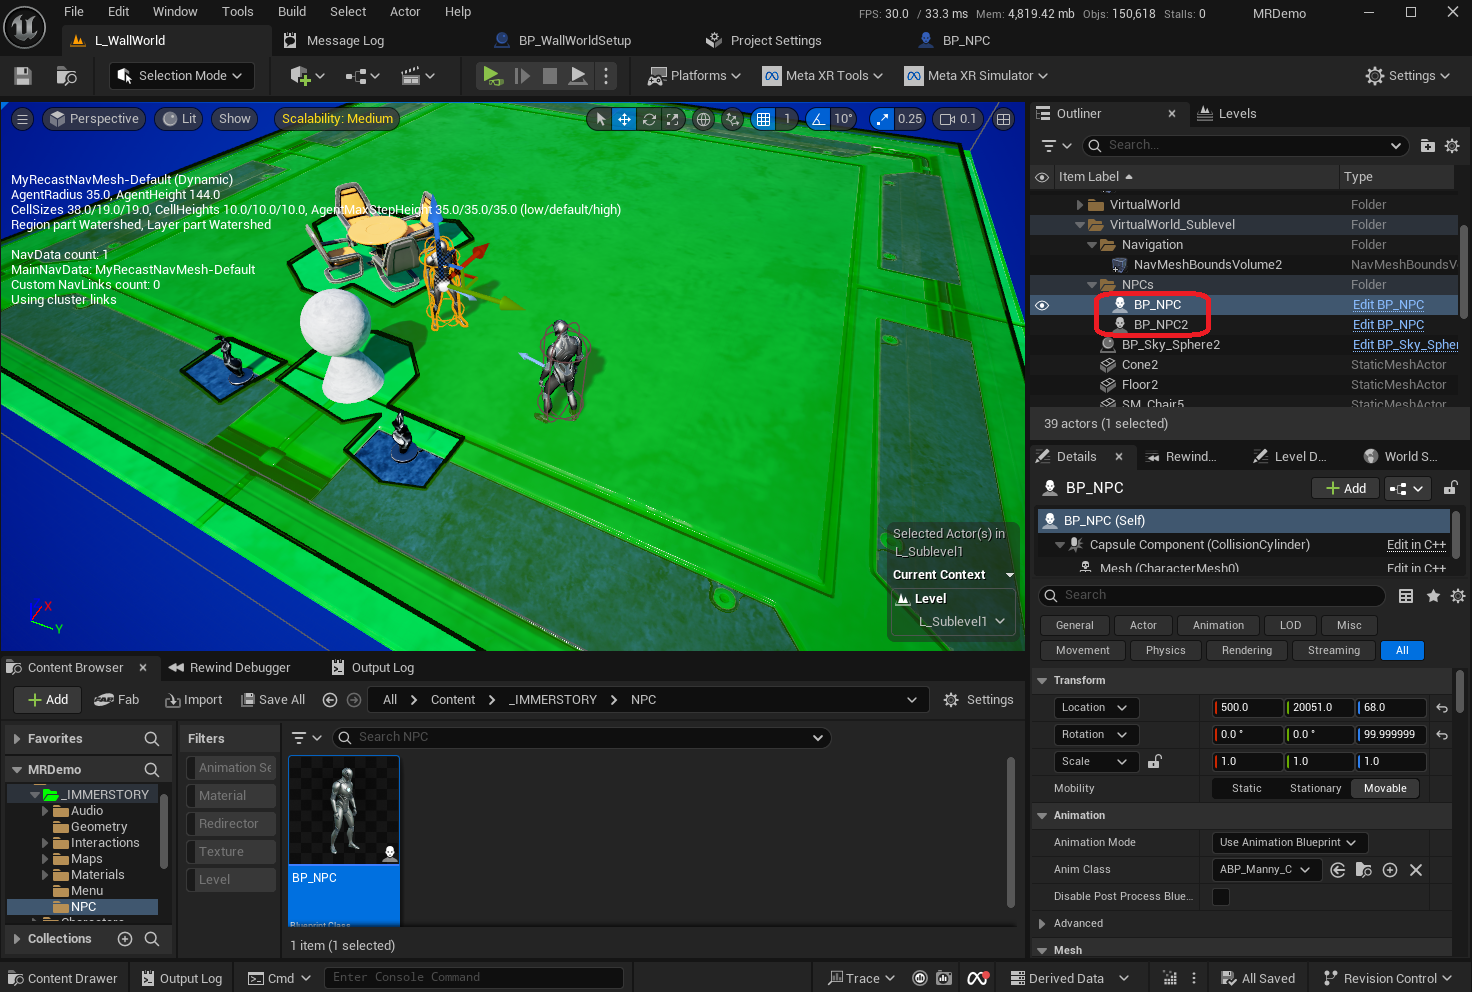
Add a NavMeshBoundsVolume - Note that the
MyRecastNavMeshis not added to the sublevel, it is only present in the main level
In order to test the NavMesh, we create a simple NPC blueprint that will move around in the navigable area.


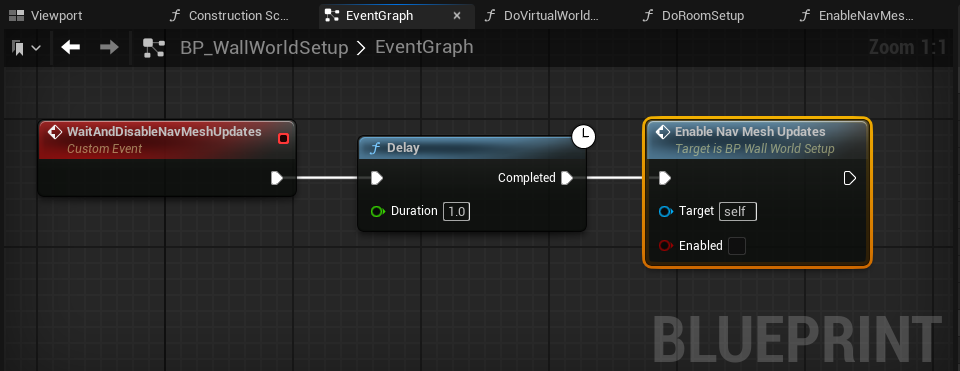
Adjust WallWorldSetup implementation
Finally, we have to adjust our BP_WallWorldSetup to enable the NavMesh-updates before loading a sublevel, and disable NavMesh-updates a bit after loading a sublevel.

Results with Navigation Stats
The video below shows the final result, including the stat navigation debug screen which shows the navigation system statistics. You can see that when the level is loaded, there is a lot of activity in the statistics (lots of numbers are visible), whereas after about 1 second, there is very little activity when the NavMesh updates are suppressed.

Clicking play will embed the YouTube player and may set third-party cookies and collect data from YouTube.
Next Steps
Of course we can make the implementation more robust by querying the NavMesh generation status instead of waiting 1 second, but that is out of scope for this post. In addition, we could adjust the NavModifierVolume location / size to match the room-floor, so that the player's room is fully excluded from the NavMesh.
Another major next step for this setup is making sure that Dynamic-Modifiers are still applied correctly, even when updates to the NavMesh are suppressed.
Conclusion
Using a Semi-Dynamic NavMesh we combine the best of both worlds: having a very flexible navigation setup for sublevels at any location/orientation, while keeping performance under control on VR headsets.
We at Immerstory are excited to support our customers with their immersive experiences, and look forward to sharing more exploration progress soon.
What immersive experience would you like to see? Let us know!
Additional Resources
Documentation for the MetaXR plugin, specifically the Mixed Reality Utility Kit which was used for this demo, can be found here.